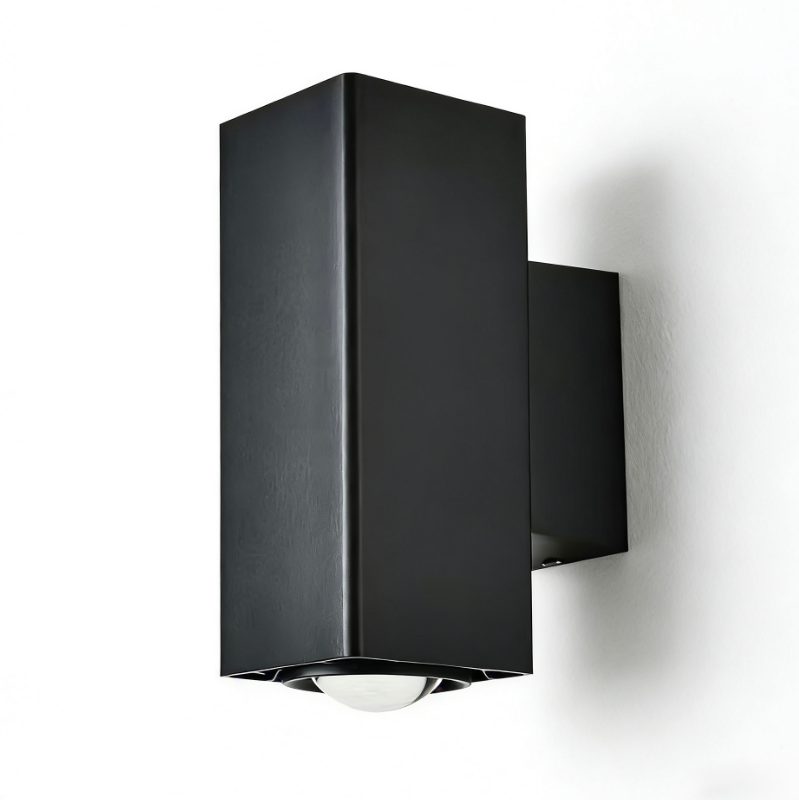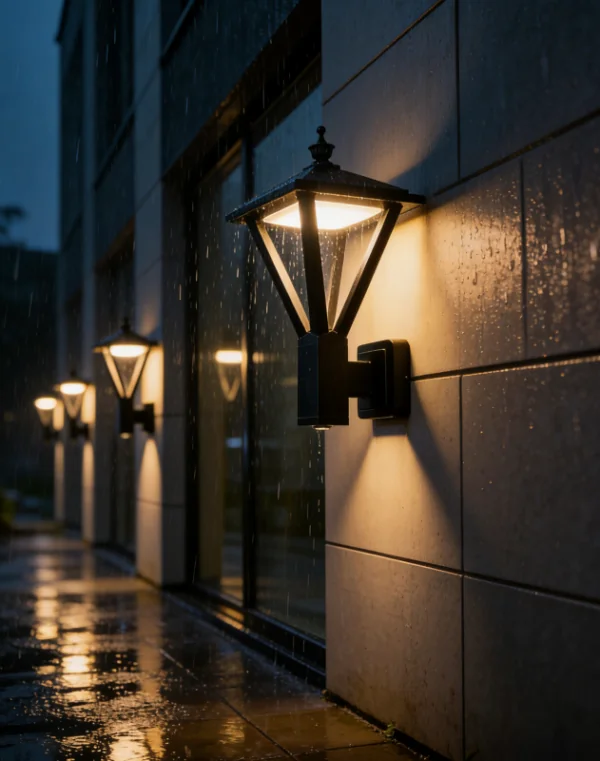
Stone facades bring texture and depth to residential, hospitality, and commercial projects, but they also create installation challenges for exterior lighting. Rough surfaces, irregular joints, and different stone thicknesses can prevent a fixture base from sitting flat against the wall.
For project buyers and lighting retailers, the installation method matters as much as fixture selection. A well-planned mounting process helps keep an outdoor wall lamp stable, reduces stress on the housing, and supports better sealing around the electrical connection.
Why Uneven Stone Creates Mounting Problems
Unlike a smooth concrete or rendered wall, natural stone rarely provides a completely flat mounting surface. Raised edges can create gaps behind the fixture base. Recessed areas can also prevent screws from applying even pressure across the mounting plate.
These gaps affect more than appearance. If one side of the base is pressed harder than the other, the fixture may sit at an angle. Uneven pressure can also place extra stress on screws, brackets, and the lamp housing over time.
Water management is another concern. Open spaces behind outdoor wall mounted lamps may allow rainwater or moisture to reach the mounting area. Installers should therefore consider both mechanical support and weather sealing during planning.
Start With the Wall Surface
The first step is checking the stone before drilling. Installers should identify solid sections that can support anchors and avoid weak edges or loose joints. Drilling too close to a stone edge can increase the risk of cracking or chipping.
Surface height should also be checked around the planned mounting point. A straightedge or level can help reveal high spots and recessed areas. This makes it easier to decide whether the fixture can mount directly or whether a spacer or backing plate is needed.
For deeper irregularities, a flat mounting pad can create a more stable base. The pad should match the installation environment and provide firm contact between the stone surface and the fixture bracket.
Choose Fixings for the Substrate
The visible stone is only part of the wall structure. Installers should confirm what sits behind it, such as masonry, concrete, or another structural layer. Anchor selection should match the actual substrate rather than relying only on the stone finish.
Screw length also needs attention. Fasteners should pass through the mounting bracket and reach a stable fixing point without placing excessive pressure on the stone surface.
Before tightening, installers should position the bracket and confirm that it remains level. Screws can then be tightened gradually on alternating sides. This method reduces uneven loading and helps keep the bracket aligned.
Create a Flat Contact Area
When the wall is noticeably irregular, forcing the fixture directly against the stone is not a good approach. Excessive tightening may distort the bracket or place unnecessary pressure on the housing.
Washers, spacers, or a suitable mounting plate can compensate for small differences in surface height. The goal is to create stable contact without forcing the lamp body to follow every contour of the stone.
For an outdoor wall lamp, this preparation also improves the visual result. A level fixture looks more consistent with surrounding doors, windows, and architectural lines, especially on modern exterior projects.
Protect the Electrical Connection
Cable routing should be planned before final mounting. The cable entry point should remain protected, and connections should stay inside the intended enclosure or junction area.
Sealant can be used around appropriate edges where gaps remain between the wall and mounting surface. However, installers should avoid blocking designed drainage paths or ventilation features.
Weather protection should be treated as part of the complete installation. Fixture structure, cable entry, wall condition, and mounting method all work together when the light is exposed to rain and outdoor temperature changes.
Product Structure Matters During Installation
Fixture design can make installation easier on demanding wall surfaces. At Keyida, we consider housing strength, mounting structure, and outdoor protection when developing small modern exterior lights for project and retail customers.
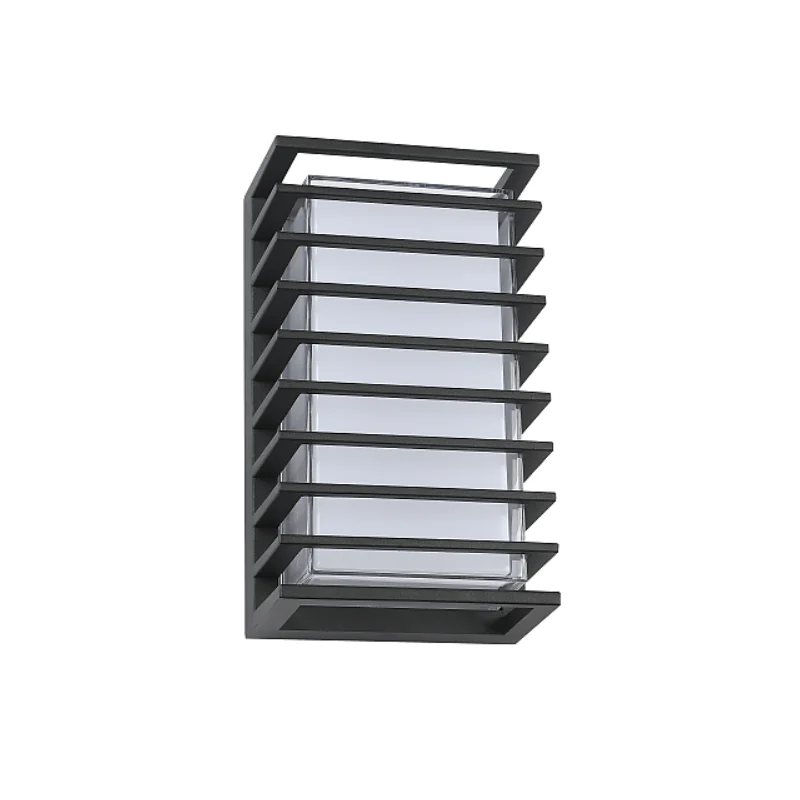
The G1071 is an IP65 outdoor light with a die-cast aluminum housing and a PC lampshade. It uses an Epistar SMD 12W LED chip with a KEDA Driver and operates at 85–265V AC, 50/60Hz.
Its dimensions are L240 × W139 × H98 mm, and the product carries a three-year warranty. These specifications can help buyers evaluate whether the fixture size, power configuration, and construction suit the planned wall position.
For distributors and project customers sourcing outdoor wall mounted lamps, clear dimensional drawings and installation information are also useful before shipment. They allow installers to prepare cable positions, fixing points, and mounting heights before the fixtures arrive on site.
Check Alignment Before Final Tightening
Final tightening should only happen after the installer checks vertical and horizontal alignment. Small errors become more visible when several fixtures are installed along the same facade.
The fixture should sit firmly without rocking. If movement remains, installers should correct the mounting surface instead of simply increasing screw pressure.
After installation, the surrounding seal, cable entry, and screw positions should be inspected again. This final check helps identify gaps that may not have been obvious during the first mounting stage.
A Practical Approach for Stone Facades
Uneven stone does not prevent secure wall lighting installation. The key is to treat the wall surface, fixing method, sealing, and fixture structure as one installation system rather than separate tasks.
At Keyida, we develop modern outdoor lighting for B2B customers such as lighting stores, building-material retailers, and project buyers. Careful preparation remains important even when the fixture itself is designed for outdoor use.
Stable mounting starts with understanding the wall. By checking the substrate, creating a flat contact area, selecting suitable fixings, and protecting the electrical connection, installers can achieve a cleaner and more reliable result on textured stone facades.