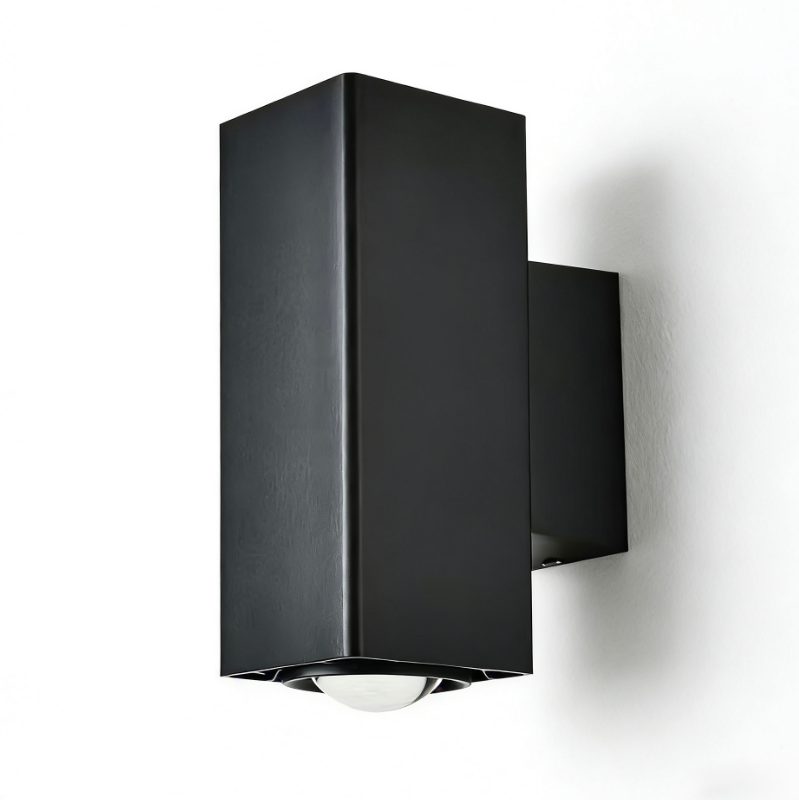
Retrofitting lighting onto an existing brick column requires more than choosing a fixture that looks suitable. Installers need to check the column surface, wiring route, mounting area, and rain exposure before drilling begins. These details affect appearance and maintenance.
For commercial projects, outdoor pier mount lights are often added to entrances, boundary walls, garden paths, hotel approaches, and residential developments. A careful retrofit plan helps preserve the masonry and creates a cleaner installation.
Assess the Existing Brick Column First
First, examine the top surface. Some columns have a flat concrete cap, while others use sloped stone, decorative tiles, or uneven masonry. The mounting surface needs enough area for the fixture base and enough strength to accept anchors without damaging the column edge.
We also check whether the column already contains electrical wiring. Existing conduit can simplify the retrofit, but its position may not match the center of the new fixture. If new wiring is required, the route should be planned before mounting holes are drilled.
Moisture exposure also matters. Water can collect around a poorly sealed base and enter gaps between the fixture and masonry. The retrofit should include sealing around the cable entry and mounting points while still allowing future servicing.
Match Fixture Size to the Column
Proportion has a strong effect on the finished result. A very small fixture can look disconnected from a wide brick column, while an oversized model may dominate the architectural detail. Project buyers should compare the base diameter, fixture height, and column width before approving a model.
For outdoor pier mount lights modern projects, simple geometric forms often work well with brick, concrete, stone, and rendered columns. Modern styling can also suit retail, hospitality, and residential developments without making the column appear visually heavy.
At Keyida, we focus on modern-style compact outdoor lighting for B2B projects and retail channels. Our product development includes private-mold designs, OEM and ODM support, and regular new-product updates. This helps us consider retrofit needs from design and production perspectives.
Plan the Mounting Base and Anchors
The fixture should sit on a stable, level base. When the column top is uneven, installers may need a mounting plate or prepared flat area. The aim is to avoid twisting the fixture body when screws are tightened, because uneven pressure can affect alignment and create visible gaps.
Anchor selection should match the substrate. Solid brick, concrete caps, and hollow masonry can require different fixing methods. Installers should also keep drill holes away from weak edges or cracked joints. Careful positioning reduces surface damage during installation.
Cable entry should stay as central and protected as possible. The connection point needs enough room for wiring without forcing the cable against sharp edges. Outdoor pier mount lights should also be mounted so the base can be removed later if servicing is needed.
Consider Light Source and Maintenance
Light-source structure can influence long-term maintenance. Some projects prefer integrated LED designs, while others want a replaceable lamp holder. A replaceable source can be useful when property managers want simpler lamp replacement or need to change the light source later.
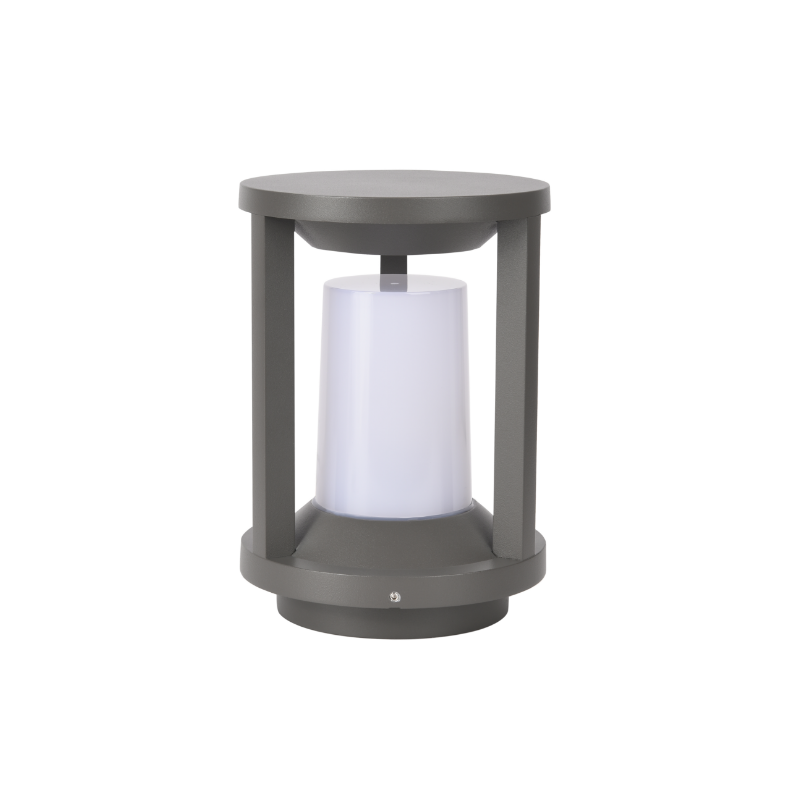
The B0474 provides one practical example. It uses a die-casting aluminum housing with a PC lampshade and has an IP54 rating. Its size is Ø165 × H220 mm, with a 1×E27 light source. This format suits projects that prefer a replaceable lamp structure.
For buyers comparing outdoor pier mount lights modern options, E27 compatibility can make sourcing easier where lamp replacement is part of the maintenance plan. The lighting effect can then be adjusted through the selected bulb, provided it suits the fixture and intended outdoor application.
Protect the Retrofit from Water
Brick columns are exposed to rain, dust, and temperature changes. Sealing around the mounting surface is therefore part of the installation. The cable opening and screw points should be protected according to site conditions, especially where the column top receives direct rainfall.
The fixture itself also needs construction suitable for outdoor use. Aluminum bodies provide a stable housing structure, while PC or acrylic covers can support practical light distribution and weather resistance when properly designed.
In our production process, we use aluminum housings across many outdoor models and apply surface preparation before coating. Careful polishing before painting improves surface finish and coating durability. Keyida also supports color customization, including common project colors such as black and gray.
Check Alignment Before Final Fixing
Before the screws are fully tightened, installers should check the fixture from several directions. The lamp should align with the column, nearby walls, gates, and other fixtures. Small angle errors are easier to correct before the base is fully fixed and sealed.
When several columns are installed along one entrance or boundary line, consistency becomes more important. Fixture height, orientation, lamp choice, and color temperature should be reviewed as one group rather than column by column.
Final Checks for a Cleaner Retrofit
A good retrofit keeps the original brickwork visually intact while making the new fixture look planned rather than added later. Accurate measurement, suitable anchoring, protected wiring, and careful sealing all contribute to that result.
For B2B buyers, the fixture itself is only part of the decision. Maintenance format, replacement access, material choice, project color, and documentation also affect long-term use. Reviewing these points before installation helps turn a simple replacement into a more controlled and repeatable retrofit process.