A garden can look carefully designed during the day but lose its structure after sunset. Visitors may miss a turn, step across a planting bed, or overlook a seating area. For hotels, residential developments, retail properties, and landscape contractors, custom outdoor lighting can connect visual appeal with safer movement and more organized site operations.
Installing garden lighting is not simply a matter of placing fixtures along the nearest path. The layout should reflect how people enter, move, pause, and leave the property. A step-by-step process helps project teams coordinate design choices, product categories, wiring, testing, and future maintenance.
Study the Garden Before Choosing Fixtures
Begin with a daytime walk-through. Mark the main entrance, parking connection, pathways, steps, gates, seating areas, planting beds, and service access. Note where visitors naturally slow down or change direction. These observations create a practical map for the nighttime plan.
A hotel garden may need a calm route from reception to an outdoor dining area. A residential compound may focus on gates, shared paths, and landscape boundaries. A retail property may need stronger visual guidance between a storefront and parking area. Each setting has a different circulation pattern.
Review the garden from several viewpoints. Look from the driveway, entrance, and typical pedestrian positions. A fixture that appears balanced beside a path may look too bright when viewed from a nearby window. Early observation helps reduce later changes during installation.
Divide the Space into Lighting Zones
Once the garden has been mapped, divide it into functional zones. A route-marking zone can guide pedestrians. An accent zone can draw attention to trees, shrubs, or textured surfaces. An entrance zone can help visitors recognize the main arrival point. A service zone can support staff access after dark.
This division keeps the design readable. Not every area needs the same visual emphasis. A path may use a quiet rhythm, while an entrance or feature tree receives a stronger focal role. The aim is to create connected layers instead of isolated bright spots.
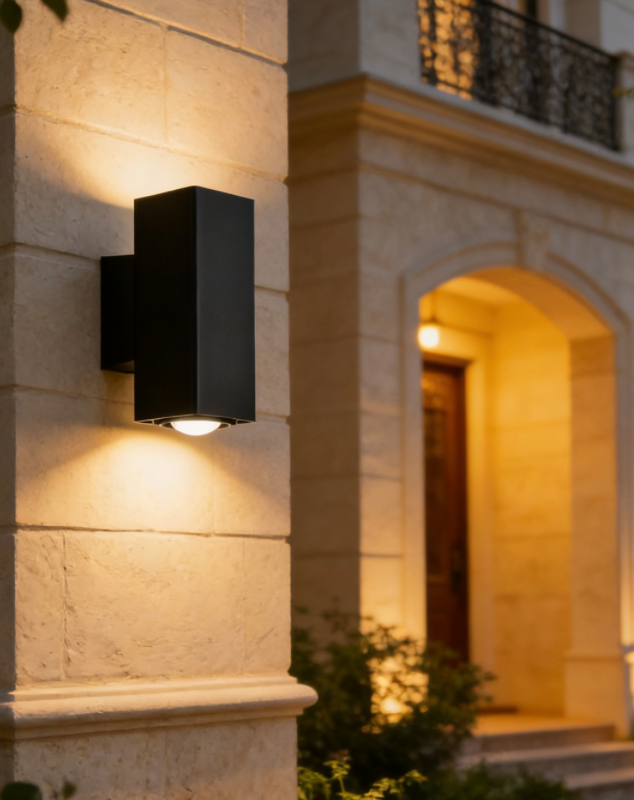
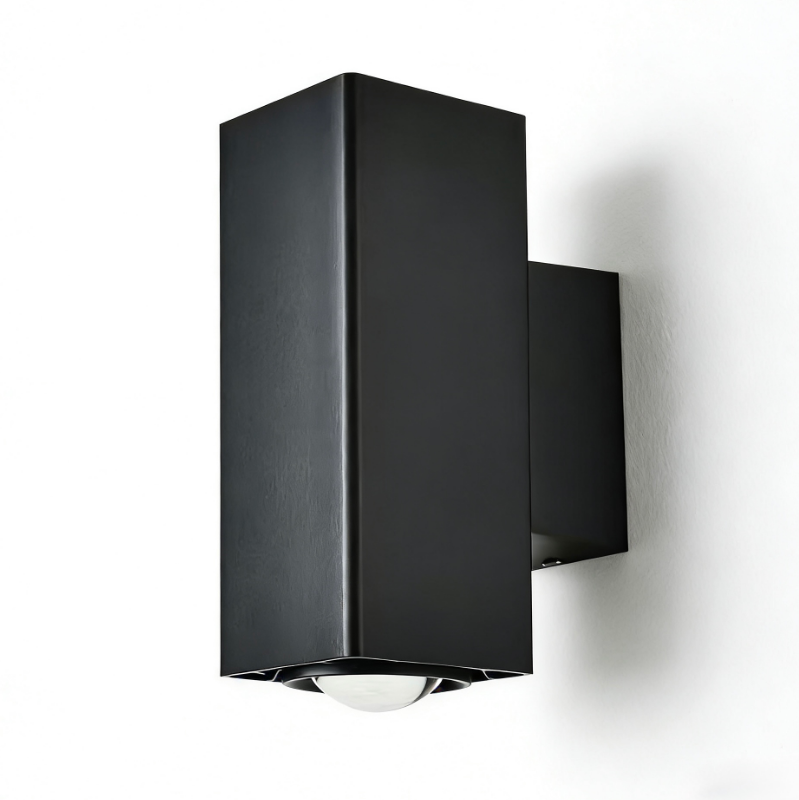
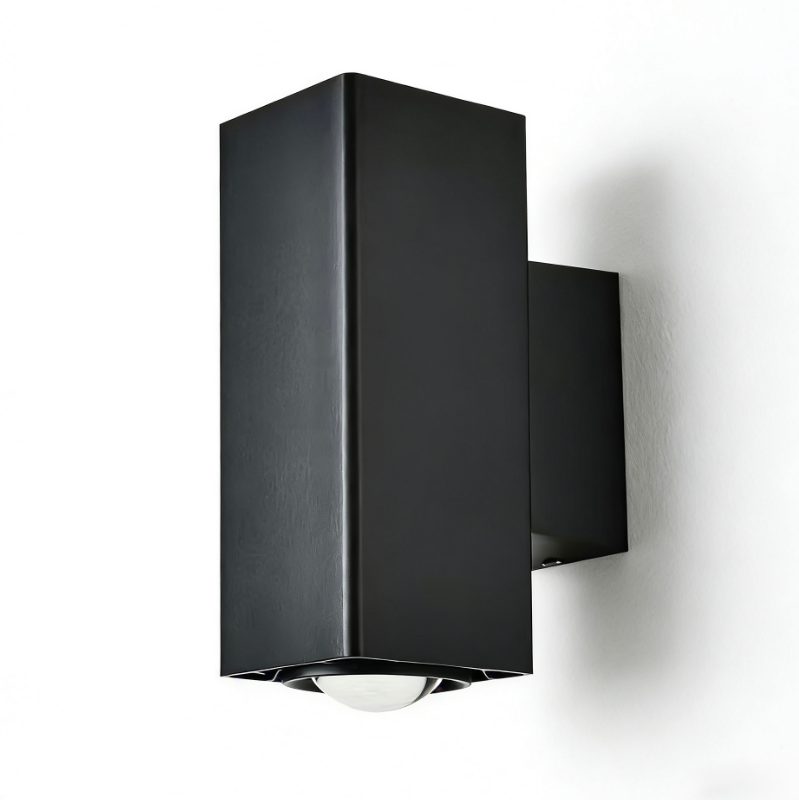
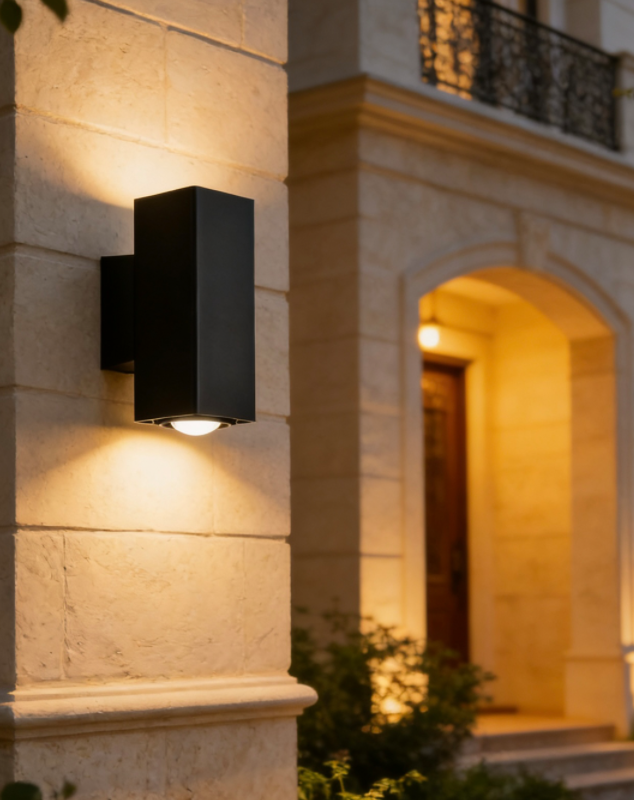
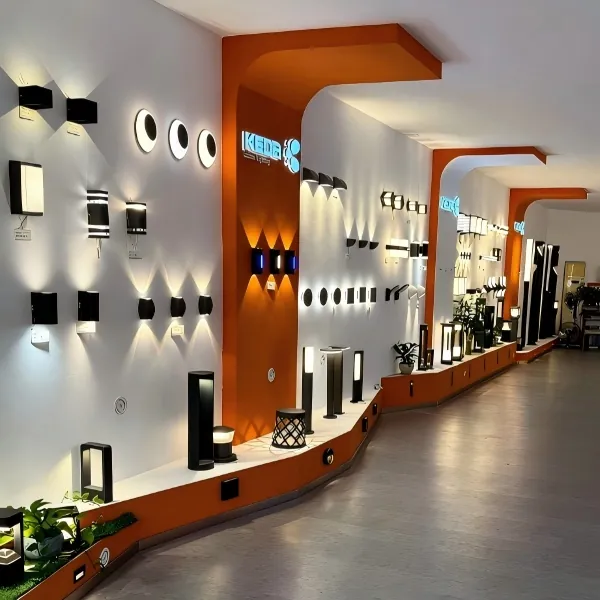
Our products include Lawn Lamp, Spike Light, Column Lamp, and Wall Lamp categories. These groups can support different garden roles. Lawn lamps may suit open planted areas, spike lights can highlight individual features, column lamps can mark boundaries, and wall lamps can connect the garden with the building.
Choose LED Landscape Lights by Their Role
Product selection should follow the zone plan rather than start with appearance alone. For a walkway, consider how the fixture will be seen from approaching and departing directions. For a planting bed, review whether the fitting can sit without disturbing roots or routine gardening work.
When selecting LED landscape lights, also consider the relationship between the fixture and nearby surfaces. A light aimed toward a pale wall may appear stronger than one aimed across dark foliage. The intended effect can change with surrounding materials, planting density, and the amount of ambient light from buildings.
Our outdoor collection is modern, customizable, and available for wholesale.This positioning is relevant to distributors and project buyers who need coordinated products for several zones. A consistent family appearance can help a garden feel intentional, even when different fixture types perform different tasks.
Plan the Wiring and Mounting Route
After fixture roles are defined, prepare the installation route. Mark where cables, junction points, and power equipment may be placed. Keep routes away from likely digging areas and allow access for inspection. Local electrical rules and the project electrician’s recommendations should guide the final arrangement.
Mounting surfaces also deserve attention. A spike fixture needs stable ground, while a wall fixture depends on the building surface and entry point. Column fixtures require a suitable base, and lawn fixtures should not obstruct mowing or routine landscape work.
Record each fixture location on the site plan. Include the intended function, orientation, and connection route. This document helps installers work consistently and gives facility teams a useful reference when a fitting needs adjustment or replacement.
Install Fixtures with the Garden in View
Installation should follow the approved zone plan. Place path fixtures so their light supports movement without creating a distracting line of glare. Accent fixtures should reveal the intended tree, planting group, or surface rather than compete with the entrance.
Check the fixture from normal eye level. A fitting may look well positioned when viewed from above but feel intrusive from a walkway. Small changes in height or angle can alter the balance between the illuminated feature and the surrounding darkness.
Keep plant growth in mind. Shrubs and branches change over time, so avoid positions that will quickly become blocked. Leave enough access for pruning, cleaning, and seasonal work. A lighting plan that respects gardening routines is easier for a property team to maintain.
A Clear Process Supports Better Project Results
A successful garden installation begins with the site, not the catalog. Map movement, divide the space into roles, select suitable fixture categories, plan the wiring route, and test the result at night. The process gives designers, installers, distributors, and owners a shared framework for decisions.
At Keyida, we support B2B customers seeking modern outdoor lighting, OEM or ODM cooperation, and coordinated solutions for real projects. We can review the garden setting, discuss fixture roles, and provide product information needed for evaluation. With a considered installation plan, outdoor areas can remain useful, legible, and visually engaging after sunset.