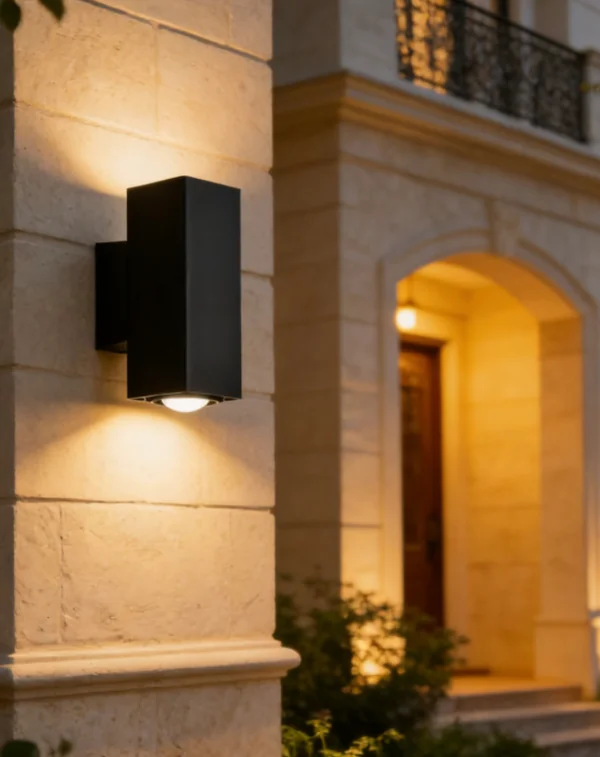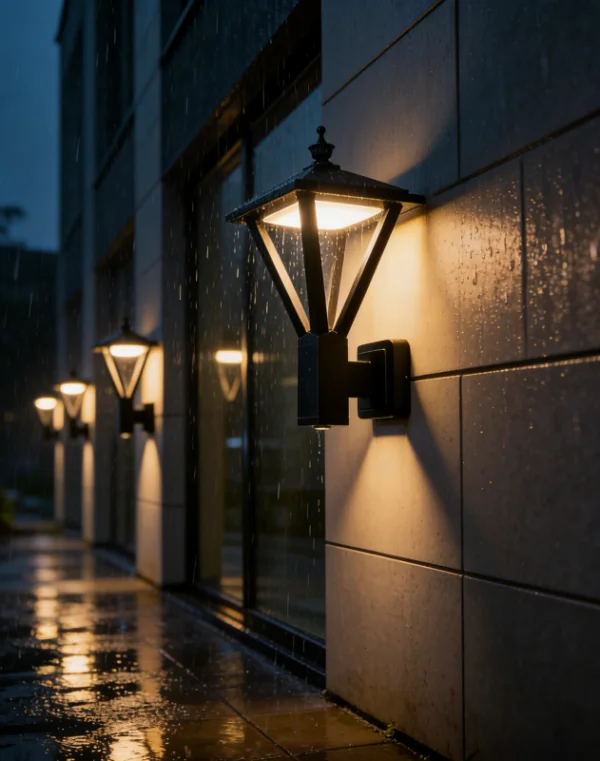
When developing outdoor lighting environments for high-end residential complexes, luxury resorts, or commercial estates, natural stone columns frequently serve as a prominent architectural feature. The textured, organic look of stacked stone or rough-hewn brick offers unparalleled curb appeal. However, as outdoor lighting professionals, we know that these highly textured surfaces present a significant installation challenge. At Keyida, our quarter-century of expertise in manufacturing durable outdoor lighting has taught us that the final installation quality is just as important as the luminaire itself.
For B2B clients, landscape architects, and electrical contractors, understanding how to properly secure and level outdoor pier mount lights on irregular surfaces is crucial. A poorly mounted fixture not only looks unprofessional—marring the aesthetic of a carefully designed space—but it also compromises the weather seal, potentially leading to electrical failures. Here is our comprehensive guide to achieving a perfect, flush installation on uneven stone columns.
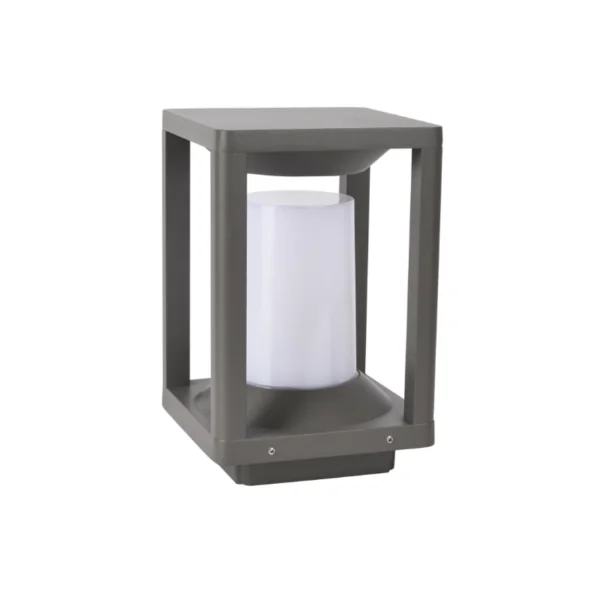
The Challenge of Uneven Natural Stone Surfaces
The inherent beauty of natural stone lies in its irregular profile. Unlike perfectly smooth concrete or flat siding, a stone column features peaks, valleys, and varying depths. When you attempt to attach a rigid, flat mounting base directly to this surface, you inevitably encounter gaps. These gaps prevent the fixture from sitting plumb (perfectly vertical) and level (perfectly horizontal).
Furthermore, if outdoor pier mount light fixtures are not flush with their mounting surface, the internal electrical junction box is exposed to the elements. Moisture, insects, and coastal salt can easily bypass the fixture’s backplate. To maintain the IP65 waterproof rating that we engineer into our Keyida luminaires, the seal between the fixture base and the column must be tight and continuous. Achieving this requires modifying the mounting surface, not the high-quality cast aluminum fixture.
Method 1: The Chisel and Grind Technique
The most seamless and professional way to level a fixture on a heavily textured column is to create a localized flat spot within the stone itself. This technique recesses the fixture base slightly, providing a permanent, highly aesthetic solution that looks integrated rather than “stuck on.”
Mark the Footprint: First, determine the exact center of your electrical conduit or junction box. Hold the base of your pier mount fixture against the stone, ensuring it is perfectly level. Use a construction pencil or chalk to trace the outer perimeter of the fixture’s base directly onto the stone.
Score the Perimeter: Equip an angle grinder with a high-quality masonry or diamond-tipped blade. Carefully score along the traced outline. The depth of your cut should match the deepest “valley” within the marked circle so that the resulting surface will be completely flat.
Chisel the Interior: Once the perimeter is scored, make several parallel relief cuts across the interior of the circle. Use a masonry chisel and a hammer to gently knock away the raised sections of stone.
Smooth and Test: Use a smaller grinder or a Dremel tool with a diamond bit to smooth the newly created recess. Frequently test-fit the fixture base. You know the job is complete when the base sits perfectly plumb, level, and flush against the back of the recess.
Method 2: Utilizing Custom Mounting Blocks
For installations where cutting into the stone is not feasible—either due to the extreme hardness of the material or specific architectural preservation requirements—using a custom leveling mounting block is the best alternative. This method bridges the gap between the flat fixture and the uneven column.
Select the Material: Choose a material that can withstand outdoor conditions. While heavy-duty composite plastics are available, cutting a piece of pressure-treated lumber (like 2 x 8 / 2 x 10) or PVC trim board allows for precise customization.
Shape the Block: Cut the block to match or slightly exceed the footprint of the fixture’s base. You must then bore a hole through the center of the block using a hole saw to accommodate the electrical wiring and junction box connection.Scribe to Fit: This is the most critical step. Hold the block against the column, making sure the block’s outer face is perfectly plumb and level. Use a compass to “scribe” the irregular profile of the stone onto the back and sides of the mounting block. Use a jigsaw or grinder to cut the back of the block along this scribed line.
Install and Seal: The block should now sit perfectly flat against the uneven stone while presenting a smooth, level surface outward. Secure the block to the stone using heavy-duty masonry anchors (like Tapcons). Mount your outdoor pier mount lights directly to this new, level surface. Finally, apply a high-quality, exterior-grade silicone caulk around the top and sides of the block where it meets the stone to prevent water intrusion, leaving the bottom edge un-caulked to allow any trapped condensation to weep out.
Why Precision Installation Matters
Taking the time to properly level and seal your fixtures protects your investment. As an established OEM and ODM manufacturer, Keyida engineers our column and pier mount luminaires using premium die-cast aluminum and multi-step electrostatic powder coating. They are built to survive harsh environmental conditions, but their longevity relies heavily on the integrity of the initial installation.
When contractors utilize these leveling techniques, they ensure that the watertight seals we design function exactly as intended. Whether you are executing a large-scale commercial development or outfitting a luxury residential gate, specifying robust fixtures and demanding precise installation standards guarantees a flawless result. We are committed to providing our B2B partners with not only superior lighting hardware but also the technical knowledge required to ensure those products perform beautifully for decades.