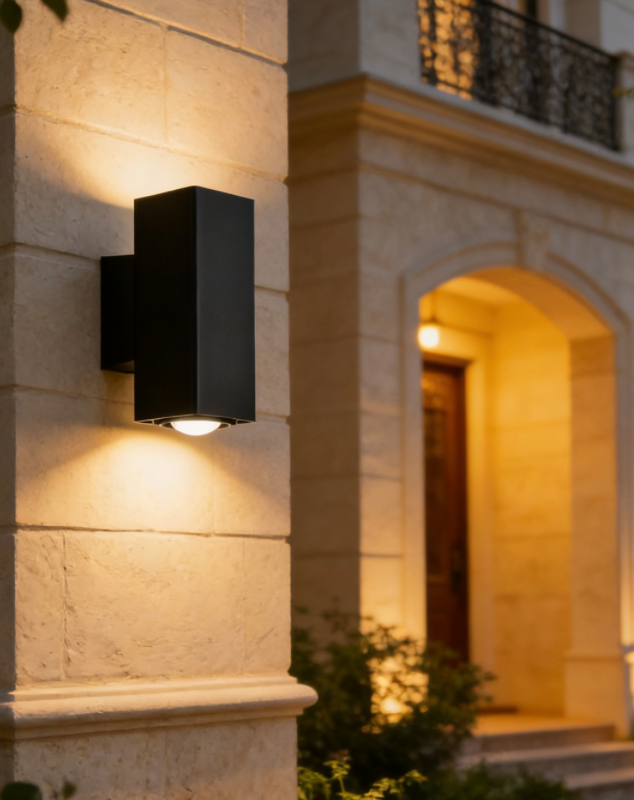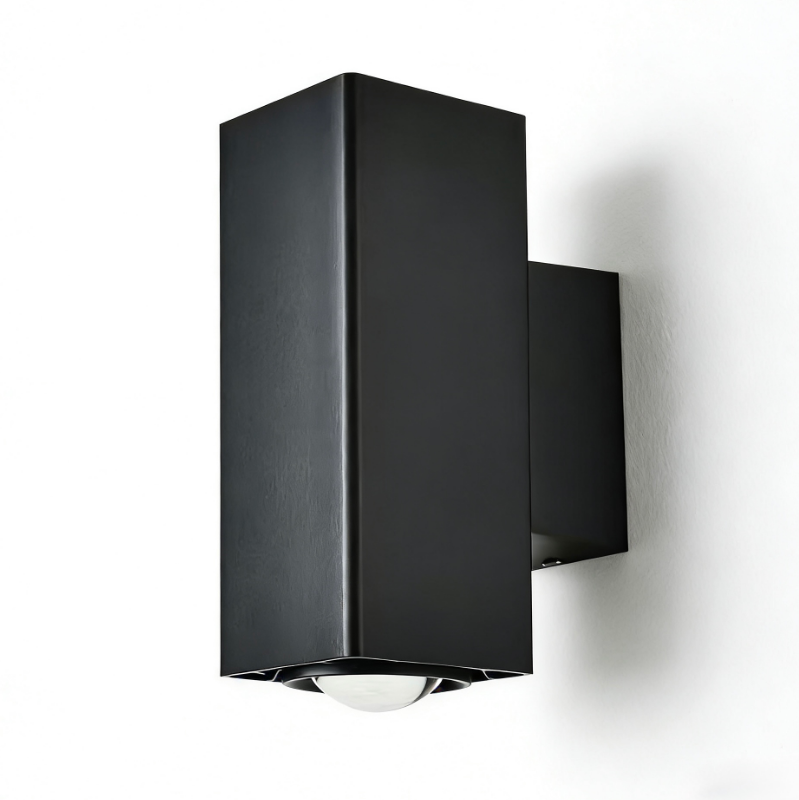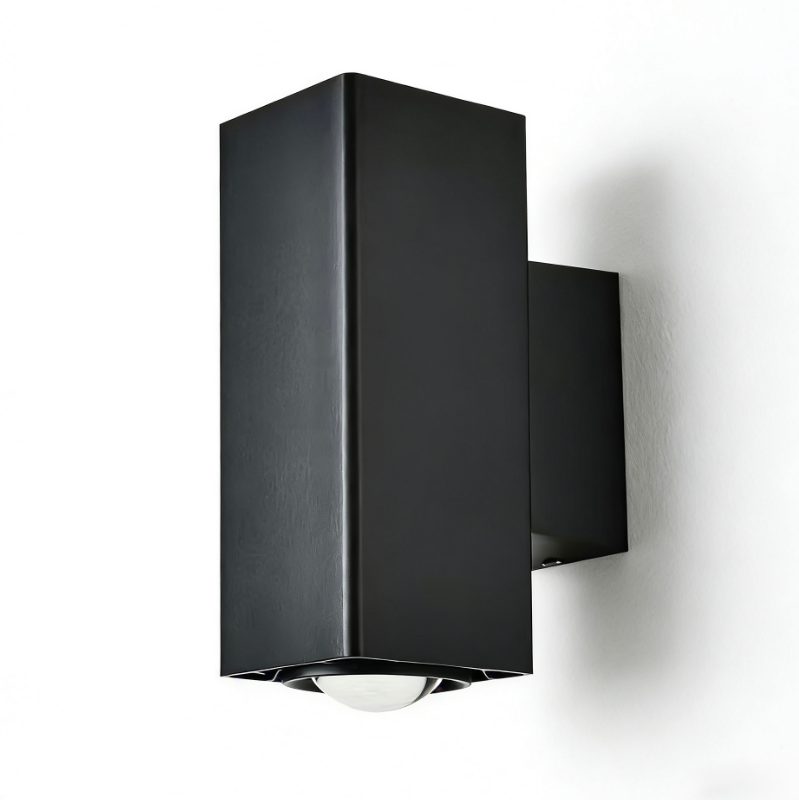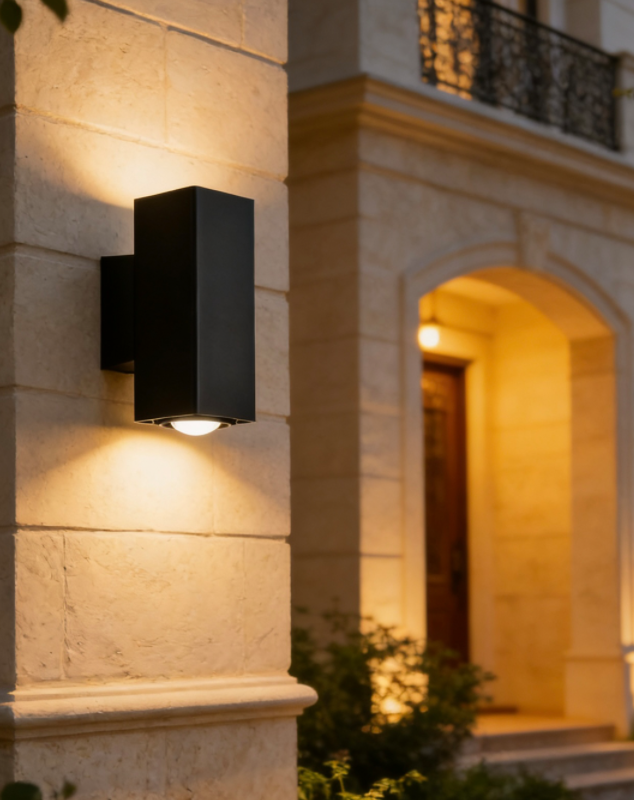
Learning how to install a spotlight outdoors starts with the scene, not the fixture box. A flower bed, tree, statue, or walkway each needs a different viewing angle. Garden spike lights are designed for this kind of targeted accent work, yet placement, cable planning, and night testing shape the final result as much as the lamp itself.
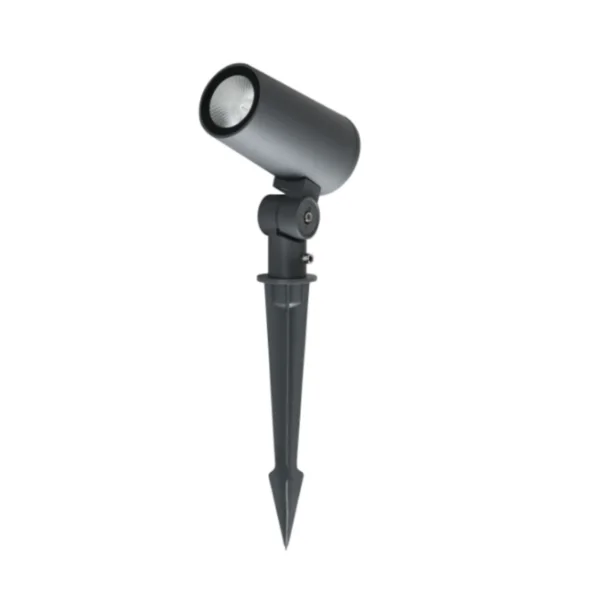
Our Spike Lamp collection features premium aluminum bodies prepared with pre-painting sanding, replaceable LED chips and drivers, and interchangeable lamp heads. Our fixtures deliver a soft, focused glow perfect for flower beds and landscape walkways, plus adjustable beam direction ideal for taller shrubs or façade corners. We offer four exceptional models—E0339, E0338, E0337, and E0336—to suit diverse garden project needs.
Define the Lighting Task and Viewpoints
Walk through the property before marking positions. Identify what the spotlight should reveal and where people will stand. A tree beside a driveway may be viewed from a moving car, while a sculpture is seen from a terrace. Mark eye lines, reflective surfaces, and maintenance routes on the plan. This prevents a useful beam from becoming an uncomfortable bright point.
For a commercial garden, include guest paths, staff access, and cleaning equipment. Review the scene from seated and standing heights. If the project uses several beds, create one representative mock-up before repeating the layout. A shared visual reference helps designers, installers, and buyers agree on the intended effect.
Select a Suitable Fixture and Position
Match the fixture to the documented application. Our Spike Lamp applications include garden edges, flower beds, landscape walkways, taller shrubs, and façade corners. Use these descriptions as the scope for the first design. If a wall, pool edge, or unusual surface is proposed, ask for drawings and installation guidance before adapting the lamp.
Choose a position with stable soil and enough room for service. Keep the stake clear of irrigation spray, root growth, and routine gardening tools. Leave access to the lamp head and replaceable components. The aluminum body and painted finish should be reviewed with the supplier when the site has unusual exposure or cleaning practices.
Set the fixture back from the path when the beam can still reach the target. Screening the head behind foliage or edging can reduce direct views of the LED source. Avoid burying the body or trapping water around the cable entry. Follow the approved installation method and local electrical requirements for the project.
Aim the Beam for Soft Accent Light
Begin with the head directed toward the target surface and away from the horizon. For foliage, try a cross-lighting angle that reveals leaves and stems without pointing along the visitor’s sightline. For a statue or façade corner, adjust from the side and observe how shadows move across the surface.
Our landscape spotlight features adjustable beam direction for versatile lighting, while specific adjustment range and beam spread vary by model. We recommend recording the final position during the mock-up instead of adding an assumed angle to the specification. Small rotation changes can alter both the highlighted area and the amount of light seen from the path.
When reviewing china outside spike lights for a multi-site project, use the same test points for every sample. Compare head visibility, shadow shape, and reflections on paving or glass. The phrase identifies a supply category; it does not replace model-level confirmation of materials, controls, or electrical characteristics.
Connect and Protect the Installation
Route the cable according to the approved plan and protect it from gardening activity, foot traffic, and equipment movement. Keep joins accessible for inspection. A licensed electrician should handle connections and verify circuit protection under local rules.
After installation, check that the stake is secure and the head remains in its approved orientation. Run the lighting during the intended schedule, then inspect it after irrigation or cleaning. If water, soil, or plant movement changes the scene, correct the physical condition before fine-tuning the beam.
Test at Night and Document the Result
Night testing should cover close range, the end of the path, nearby rooms, and elevated viewpoints. Ask one person to walk while another observes the source and the illuminated subject. Look for glare, reflections, dark gaps, and unwanted spill. Reposition the lamp or revise spacing when the visual balance is not suitable.
Photograph the approved view and record the model code, finish, orientation, and installation date. For projects using E0339, E0338, E0337, or E0336, attach the sample approval to the fixture schedule. This record supports repeat orders and gives maintenance teams a clear reference when plants grow or components are replaced.
Prepare a B2B Supply Checklist
For OEM and ODM programs, confirm the selected body, head style, finish, packaging marks, and inspection points. Keyida possesses a 7,000 m² facility, a 1,100 m² showroom, quarterly product launches, and CE, RoHS, and SAA certifications. Request current drawings and technical sheets for any parameter not shown on the category page.
We also offer replaceable LED chips and drivers, interchangeable heads, re-sanding and repainting services, and a three-year warranty. Clarify how these options apply to the destination market and installation conditions. Keep product facts separate from site assumptions so procurement, installation, and after-sales teams share the same record.
A successful outdoor spotlight installation is a coordinated process: define the view, select a documented application, place the stake carefully, aim at night, and retain the approved details. We support distributors, importers, contractors, designers, and owners with project, wholesale, OEM, and ODM discussions for outdoor lighting.