We at Keyida design and manufacture outdoor lighting systems for B2B landscaping and architectural projects. Proper placement of garden lighting is not only about visual effect but also about electrical safety, beam control, and long-term maintenance efficiency. In this article, we explain structured placement methods while integrating practical engineering considerations from our outdoor lighting solutions.
Planning Layout with China Outside Spike Lights for Garden Zoning
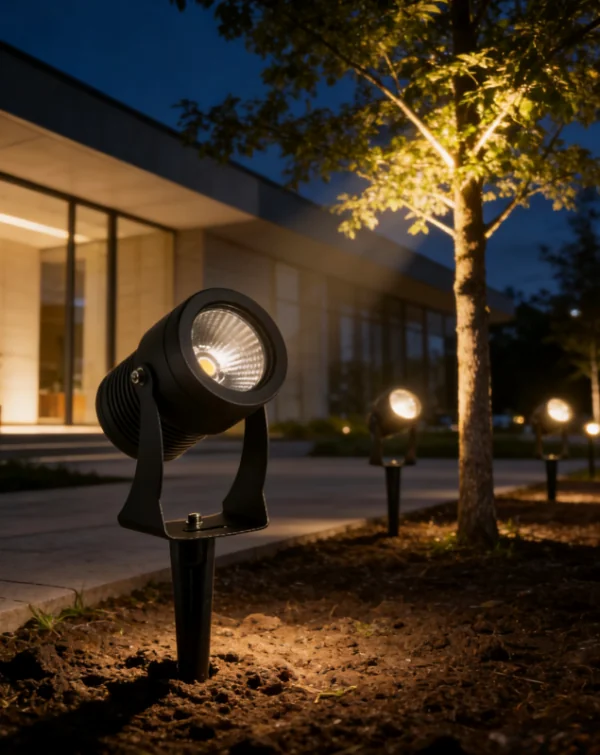
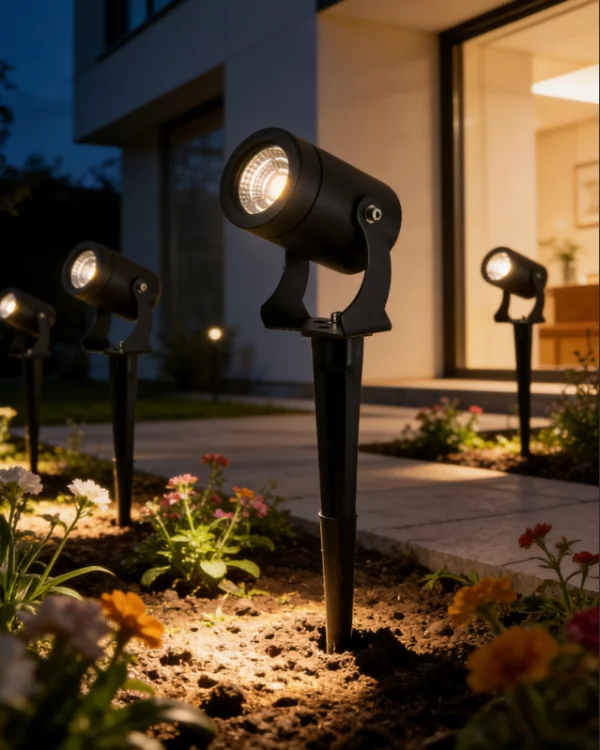
When working with China outside spike lights, we first evaluate the garden layout by dividing it into functional zones such as pathways, planting areas, and façade highlights. At Keyida, we often recommend starting from walking routes because they define user movement and lighting direction.
Spike-mounted fixtures are flexible because they can be repositioned before final soil compaction. This allows installers to test beam angles and spacing before locking the final layout. It also reduces the risk of uneven illumination in large outdoor landscapes.
Electrical Positioning Strategy for Outdoor Spotlight Systems
For outdoor spotlight installations, we emphasize early planning of cable routing. In Keyida projects, wiring is usually placed in waterproof conduits buried at shallow depth to avoid surface exposure and mechanical damage.
Spotlights are commonly used for highlighting trees, sculptures, or building façades. Beam angle selection should match object height and distance. Narrow beams are suitable for vertical accents, while wider beams are used for low shrubs or ground coverage lighting.
Ground Preparation and Structural Placement Considerations
Before installing lighting fixtures, soil conditions and ground stability must be checked. Loose soil may require reinforcement using gravel or compacted base layers to help maintain stable fixture positioning over time. For spike-based systems, insertion depth affects both stability and beam consistency. At Keyida, we often advise installers to perform trial placement before final fixing to help maintain consistent alignment across multiple fixtures in the same zone.
Using Outdoor Spotlight to Define Visual Hierarchy in Gardens
When using outdoor spotlight, we focus on creating visual layers instead of uniform brightness. At Keyida, lighting design is often structured into foreground, midground, and background illumination levels.
Foreground lighting is typically low intensity for pathways, while midground highlights plants or decorative elements. Background lighting may involve building edges or larger trees to create depth perception in nighttime environments.
Product Integration Example with E0338 Lighting Unit
In many B2B projects, we use models such as our E0338 OUTDOOR LIGHT (IP54) as part of structured garden lighting systems. It features a die-casting aluminum housing with a glass lampshade, designed for stable outdoor performance.
The unit uses an Epistar COB 5W LED chip and a KEDA driver, operating under 85–265V AC input with 50/60Hz frequency. Its compact size of Ø50 × L78 × H260 mm makes it suitable for targeted garden lighting applications where controlled beam output is required.
Beam Orientation and Installation Angle Adjustment
Correct angle adjustment is essential in garden lighting placement. We usually recommend testing beam direction at dusk when ambient light is lower, making visual evaluation more accurate.
At Keyida, adjustable brackets in many fixtures allow installers to fine-tune tilt angles. This flexibility ensures that lighting does not create unnecessary glare while still achieving sufficient visibility for landscape elements.
Wiring Protection and Environmental Adaptation
Outdoor installations require proper protection of all electrical connections. In Keyida projects, waterproof junction boxes are used to isolate wiring points from soil moisture and irrigation systems.
Cable routing should avoid direct root zones of large plants to prevent long-term physical interference. This also simplifies future maintenance and reduces the risk of accidental damage during landscaping changes.
Material Selection and Durability Considerations
Material choice plays a key role in garden lighting longevity. Many Keyida fixtures use aluminum housings combined with glass or PC covers to balance durability and thermal stability.
Surface treatment before painting is carefully controlled to improve coating adhesion. This helps maintain consistent appearance under long-term exposure to rain, sunlight, and temperature variations in outdoor environments.
Lighting Balance and Energy Efficiency Planning
When planning garden layouts, energy distribution should be considered alongside visual design. Excessive fixture density can create over-illumination and increase maintenance complexity.
At Keyida, we recommend spacing fixtures based on beam spread rather than fixed distance rules. This approach allows more flexible adaptation to different plant heights and garden scales while maintaining visual balance.
Maintenance Accessibility and Long-term Operation
Maintenance planning should be integrated during installation rather than after completion. Fixtures should be positioned where drivers and LED modules can be accessed without disturbing landscape structures.
In Keyida systems, modular design allows replacement of LED components without full fixture removal. This reduces downtime and supports long-term stability in commercial garden environments.
Conclusion: Structured Placement Approach in Garden Lighting Design
At Keyida, we view garden lighting placement as a combination of spatial planning, electrical safety, and optical control. A well-structured layout ensures that lighting supports both functional visibility and landscape aesthetics.
Whether using spike-based systems or focused beam units like china outside spike lights, correct positioning determines long-term performance. Combined with flexible systems such as outdoor spotlight, garden lighting can be adapted to different project scales while maintaining consistent visual results.